


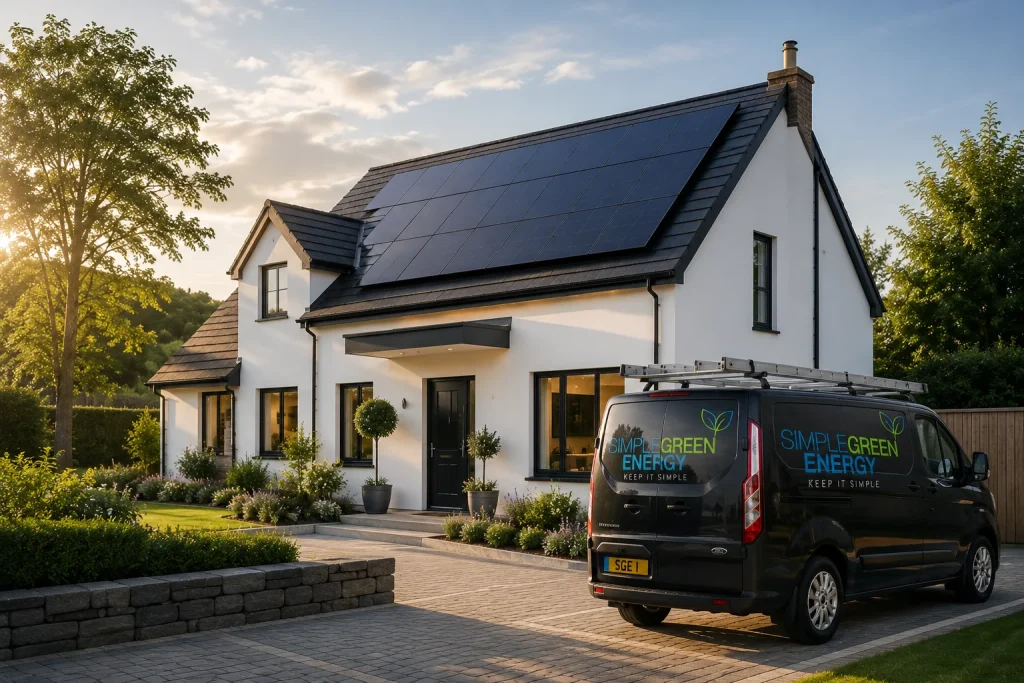
Solar Panels Installation in the UK: Step-by-Step Guide
You might know you want solar panels, but what actually happens after you request a quote? For many homeowners, the process can feel unclear at first, roof checks, surveys, system design, scaffolding, installation, paperwork and export tariffs can all sound a bit technical. The good news is that Solar Panels Installation is usually much simpler when each step is explained clearly.
This guide walks you through the full journey, from checking whether your roof is suitable to what happens on installation day, what paperwork you should receive, how aftercare works and how you may be able to earn money from exporting unused electricity back to the grid.
Get Your Solar Panel Quote
Start with your address so we can check the best solar options for your home.
Quick Answer: What happens during Solar Panels Installation?
Solar Panels Installation usually starts with a roof and electrical check, followed by a system design, quote approval, scaffolding and installation day. After the panels, inverter and wiring are fitted, you should receive key paperwork, warranty details, MCS certification and guidance on export tariffs.
Table of Contents
ToggleWhat Does Solar Panels Installation Mean?
Solar panels installation means designing, fitting and connecting a solar PV system to your home so it can generate electricity from daylight. The panels capture daylight, the inverter changes that energy into usable electricity, and a battery can store any unused power for later. A proper installation usually includes roof checks, system design, scaffolding, panel fitting, electrical connection, testing, paperwork and registration with the relevant network operator.
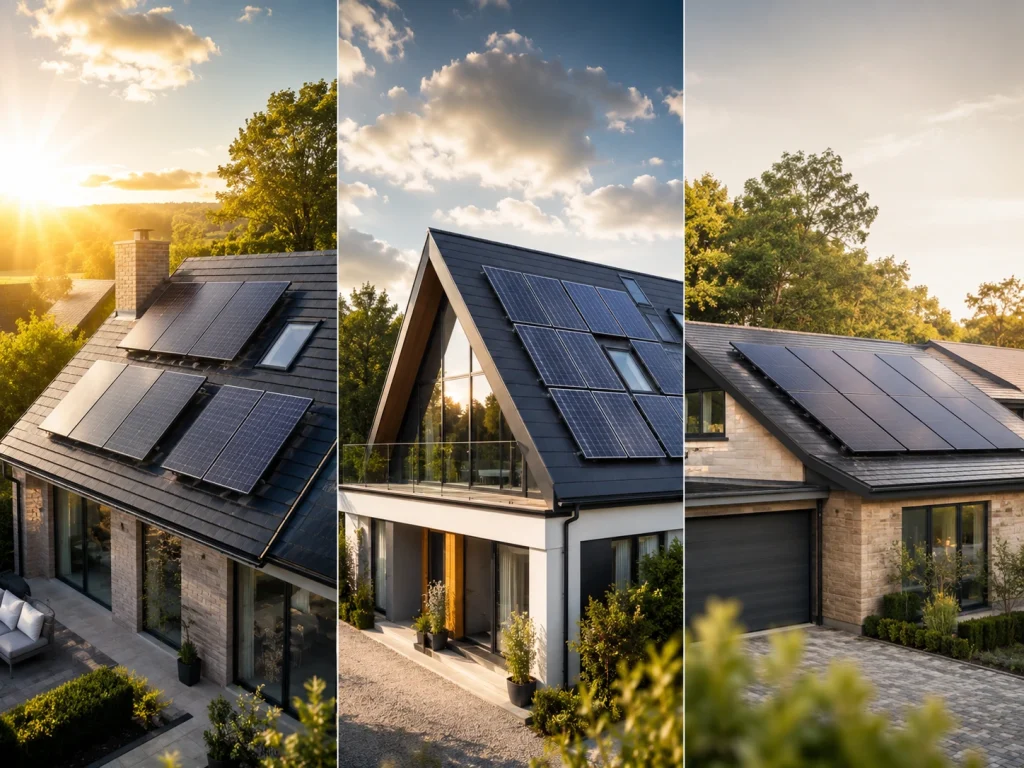
Is Your Home Suitable for Solar Panels?
Most UK homes can benefit from solar panels, but the final result depends on your roof, shade, space and how you use electricity. A good installer will not just “fit panels”; they will check whether your home can generate enough power safely and efficiently.
| Suitability Check | What It Means | Why It Matters |
|---|---|---|
| Roof Direction | South-facing roofs usually generate the most electricity, but east and west-facing roofs can still work well. East-facing panels perform better in the morning, while west-facing panels can be useful later in the day. | The direction affects when and how much electricity your system produces. |
| Shading | Trees, chimneys and nearby buildings can reduce solar output. In some cases, shading can affect performance more than roof direction. | Less sunlight on the panels means less electricity generated. Optimisers or microinverters may help where partial shading is unavoidable. |
| Roof Space | The number of panels depends on the usable roof area, roof shape, skylights, vents, chimneys and access. | More suitable space usually means more panels and better generation potential. |
| Roof Condition | Your roof should be checked before installation to make sure it is strong, safe and suitable. | It is better to fix roof issues before panels are fitted rather than after. |
| Electricity Usage | Solar works best when you can use some of the electricity during the day or store extra power in a battery. | The more solar energy you use at home, the more value you can get from the system. |
In simple terms, your home does not need a “perfect” roof for solar panels, but it does need the right checks. Roof direction, shading, available space and your daily energy habits all help decide the best system for your property.
Solar Panels Installation Step-by-Step Guide
Solar panels installation follows a clear process, from checking your roof to switching the system on and sorting the paperwork.
1. Home Suitability Check
Your installer checks roof direction, shading, roof space, roof condition and electricity usage.
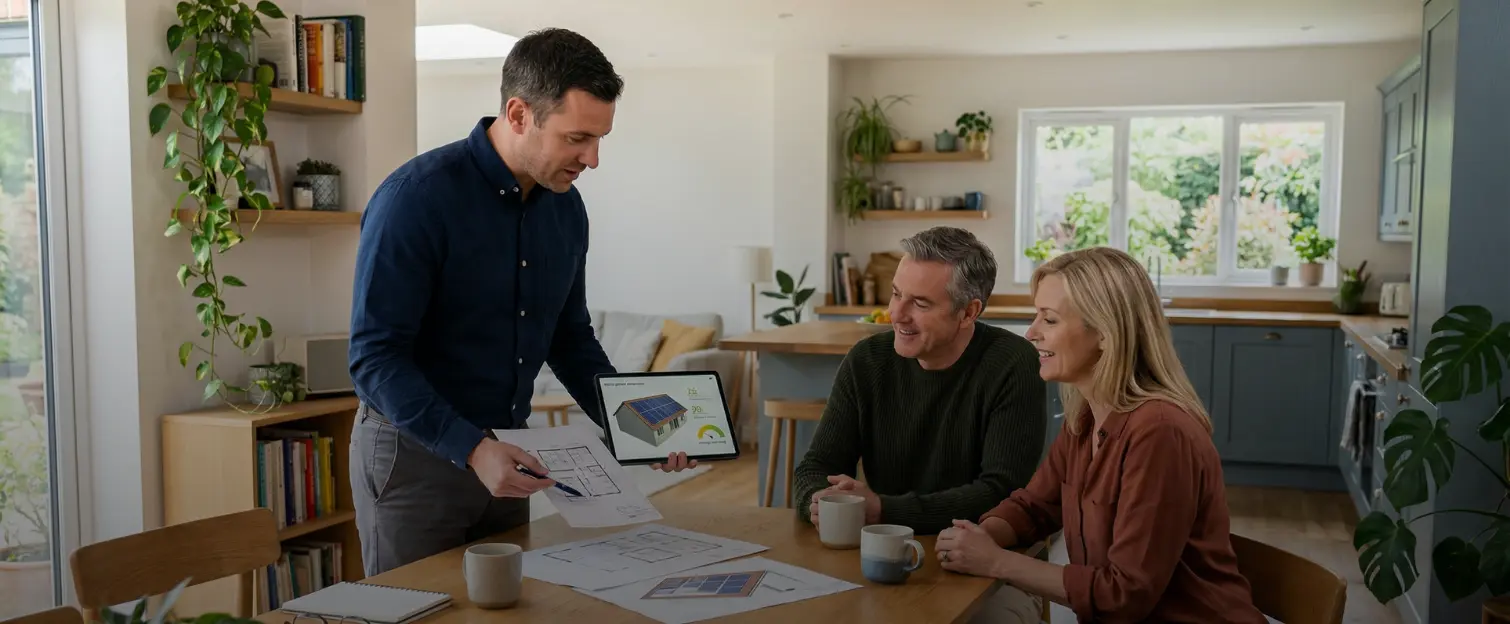
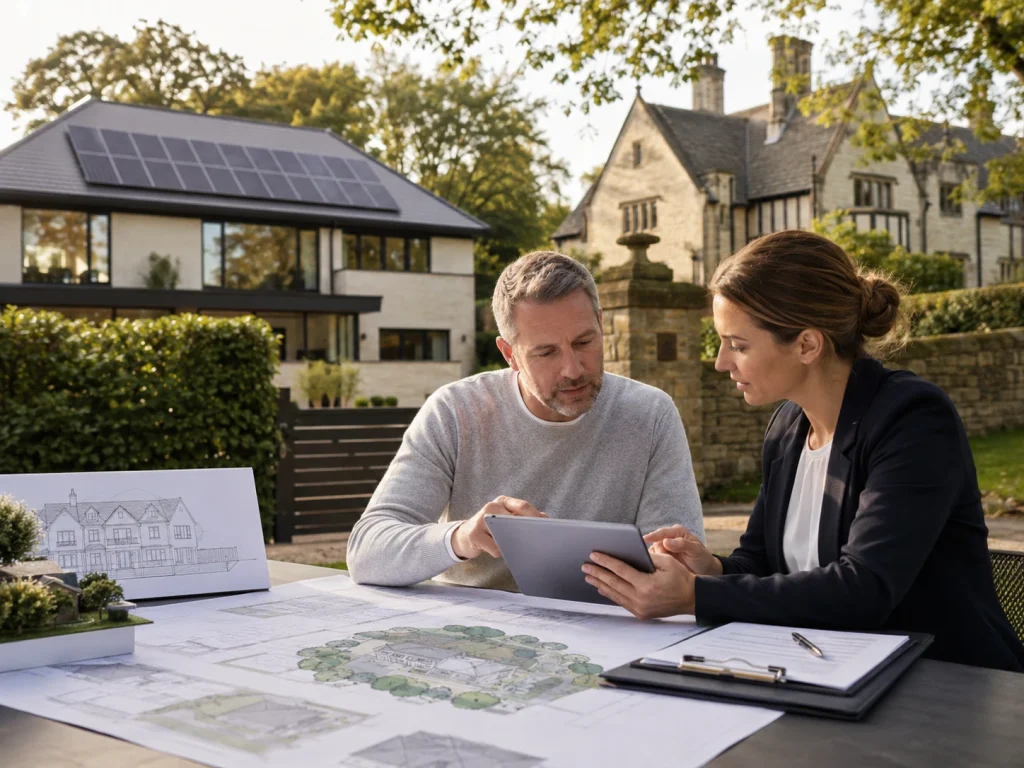
2. Quote and System Design
You receive a design showing panel layout, inverter choice, battery options, expected output and total cost.
3. Survey and Technical Checks
The roof, access, electrics and meter area are checked before the installation is confirmed.
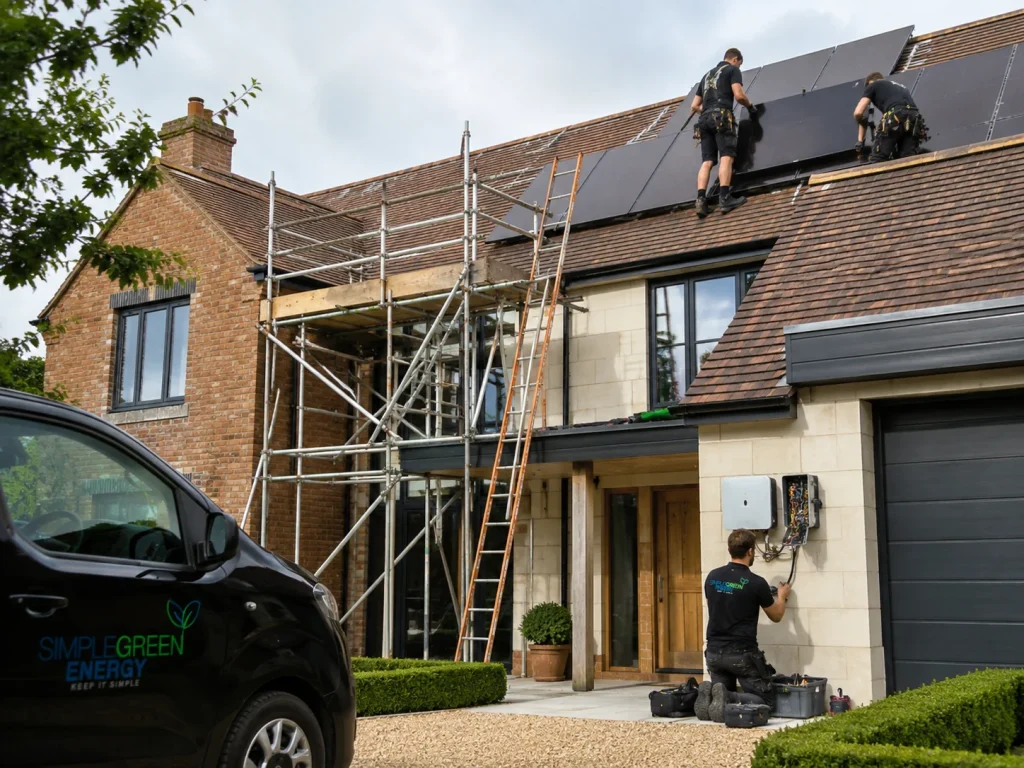
4. Scaffolding and Installation
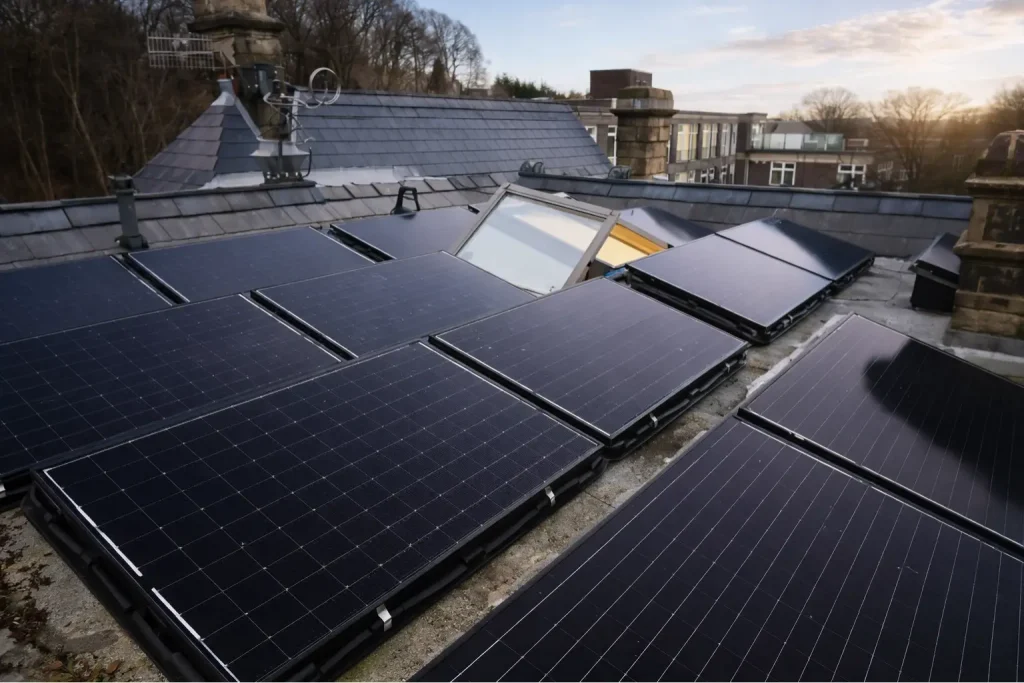
Scaffolding is arranged, panels are fitted, and the inverter and wiring are connected.
5. Testing and Handover
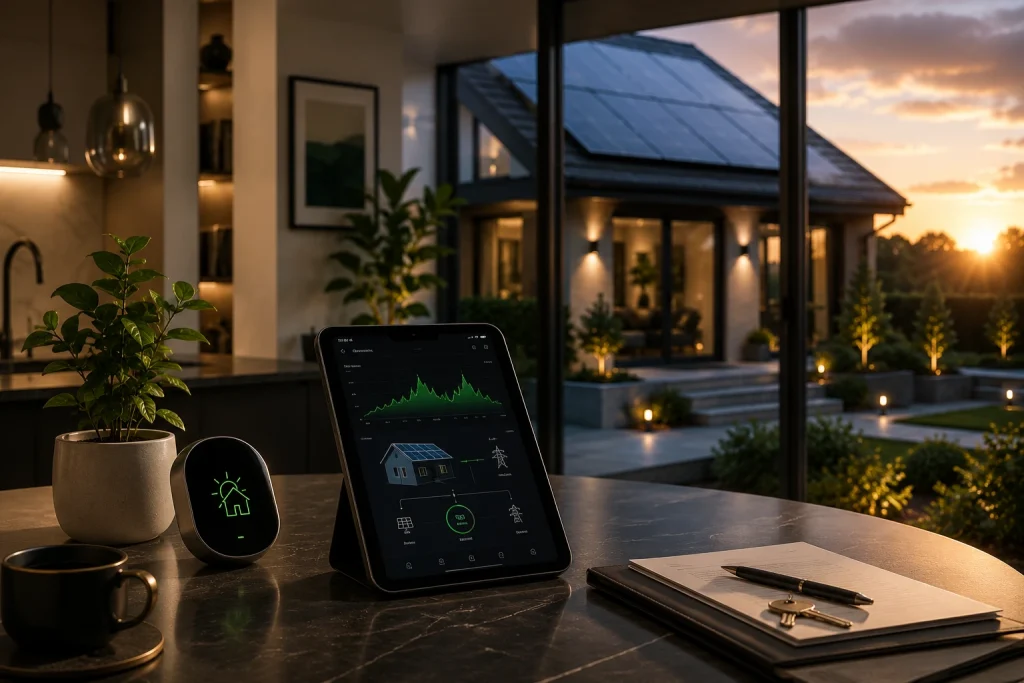
The system is tested, switched on and explained so you know how to monitor performance.
6. Paperwork and Aftercare
You receive warranties, certificates, registration details and guidance on export tariffs.
| Step | What Happens |
|---|---|
| 1. Check | Roof, shade and electricity usage are reviewed. |
| 2. Design | Panels, inverter and battery options are planned. |
| 3. Survey | Roof and electrics are confirmed before installation. |
| 4. Install | Panels and equipment are fitted safely. |
| 5. Test | The system is checked, switched on and explained. |
| 6. Aftercare | Paperwork, warranties and tariff guidance are provided. |

Step 1: Check Whether Solar Panels Are Right for Your Home
Before getting solar panels, check whether your roof has enough usable space, suitable direction, limited shading and a structure that can safely support the system.
Step 2: Compare Funding and Finance Options
Before going ahead, check the cost, payment terms and any support available. There may not always be a dedicated national grant for standard solar panels, but supplier schemes, finance plans or wider home energy support may apply. Always compare monthly payments, ownership, warranties and exit fees before signing.

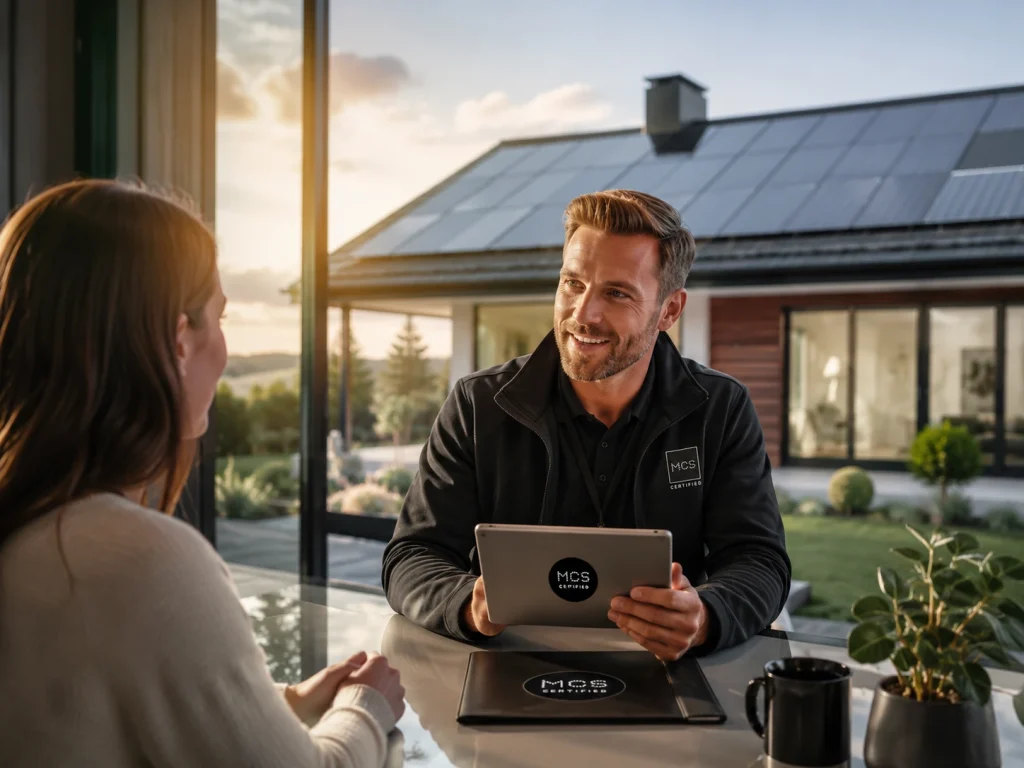
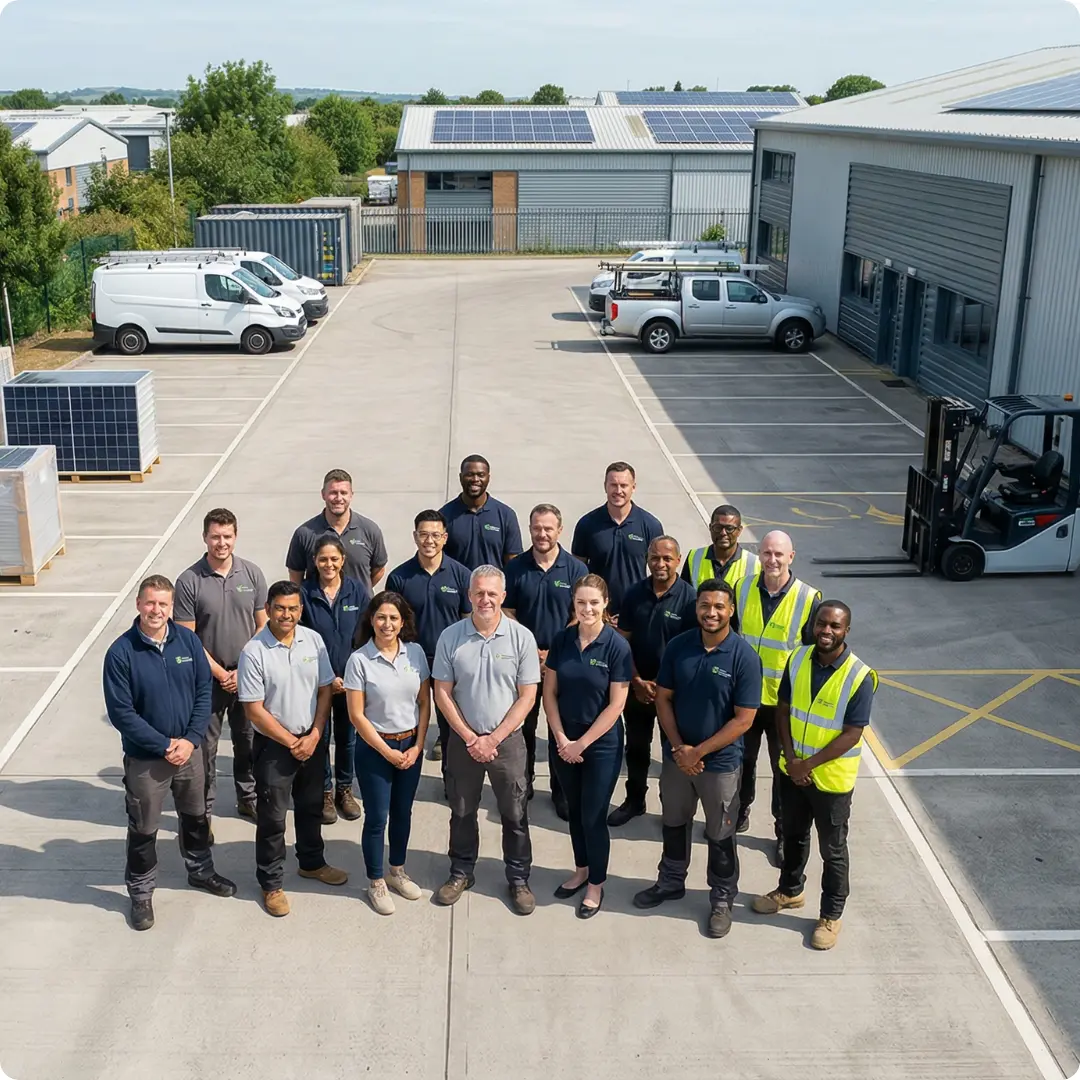
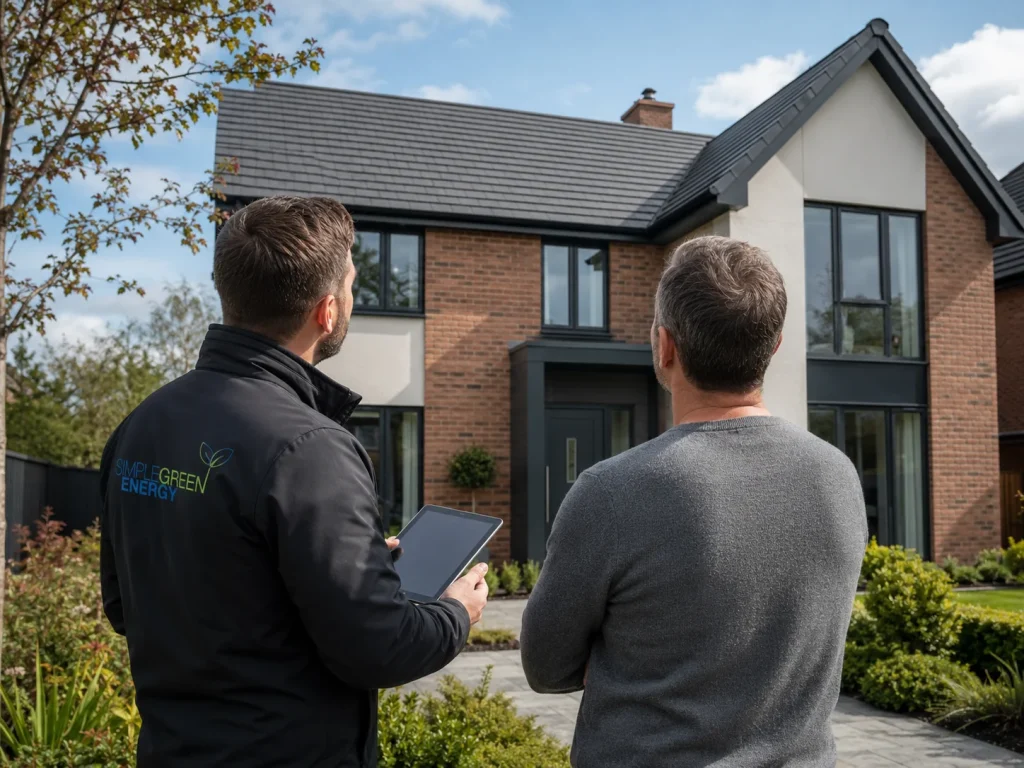
Step 3: Find an MCS-Certified Solar Installer
Choose an MCS-certified installer and compare at least three quotes. Check the panels, inverter, battery options, warranties, scaffolding, expected output, paperwork and aftercare. The cheapest quote is not always the best if the design, support or certification is weak.
Step 4: Complete the Roof Survey and System Design
Next, your installer checks the roof properly and designs the system around your home. This includes roof measurements, shading, panel layout, inverter location, battery position, scaffolding needs, expected generation and warranty details. For example, two homes may both fit eight panels, but the output can differ if one roof is shaded or faces west instead of south.
Step 5: Check Planning Permission and Property Restrictions
Most UK homes may not need planning permission for solar panels, but it is still worth checking first. Listed buildings, conservation areas and some local rules can add extra requirements. When unsure, ask your local planning authority before booking the installation.
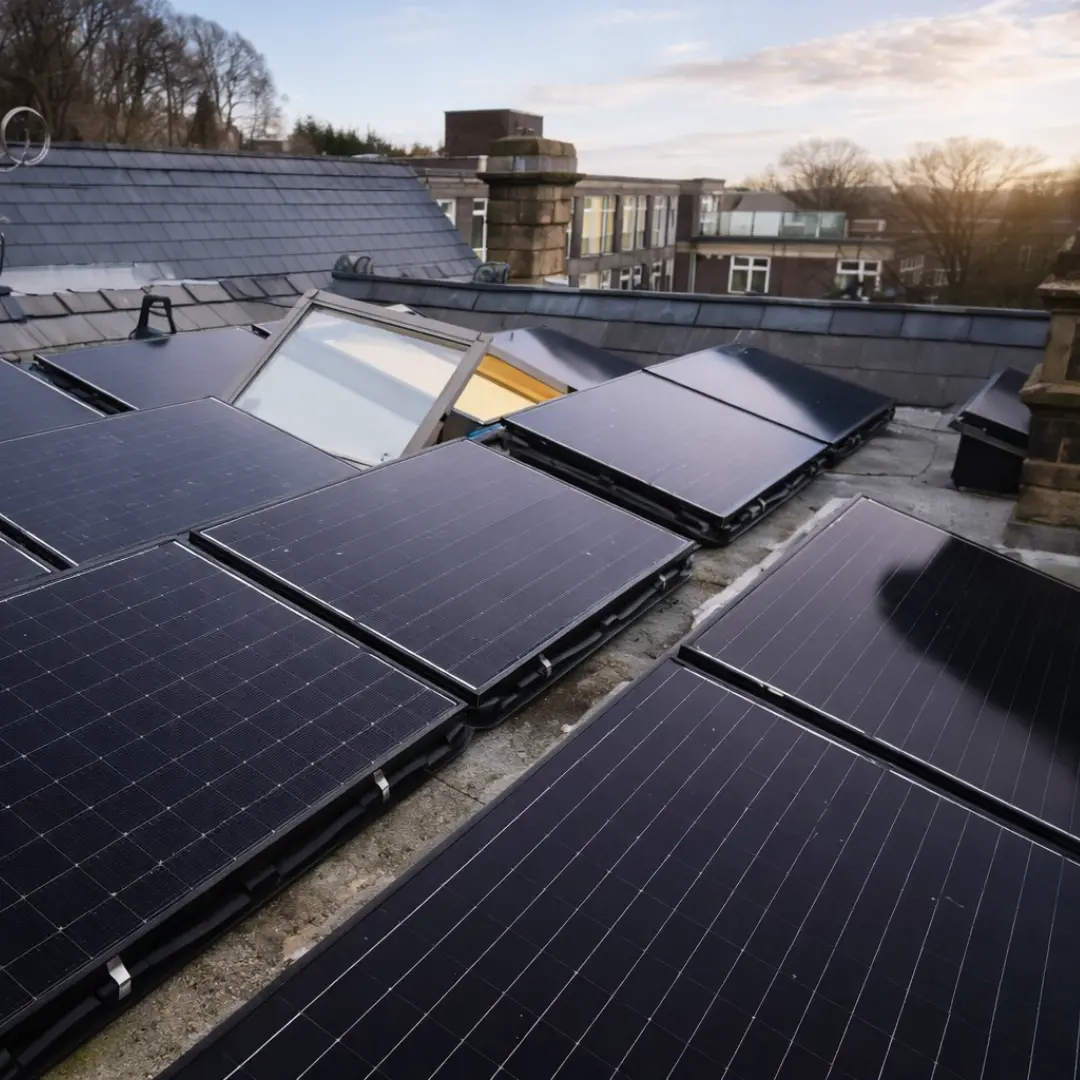
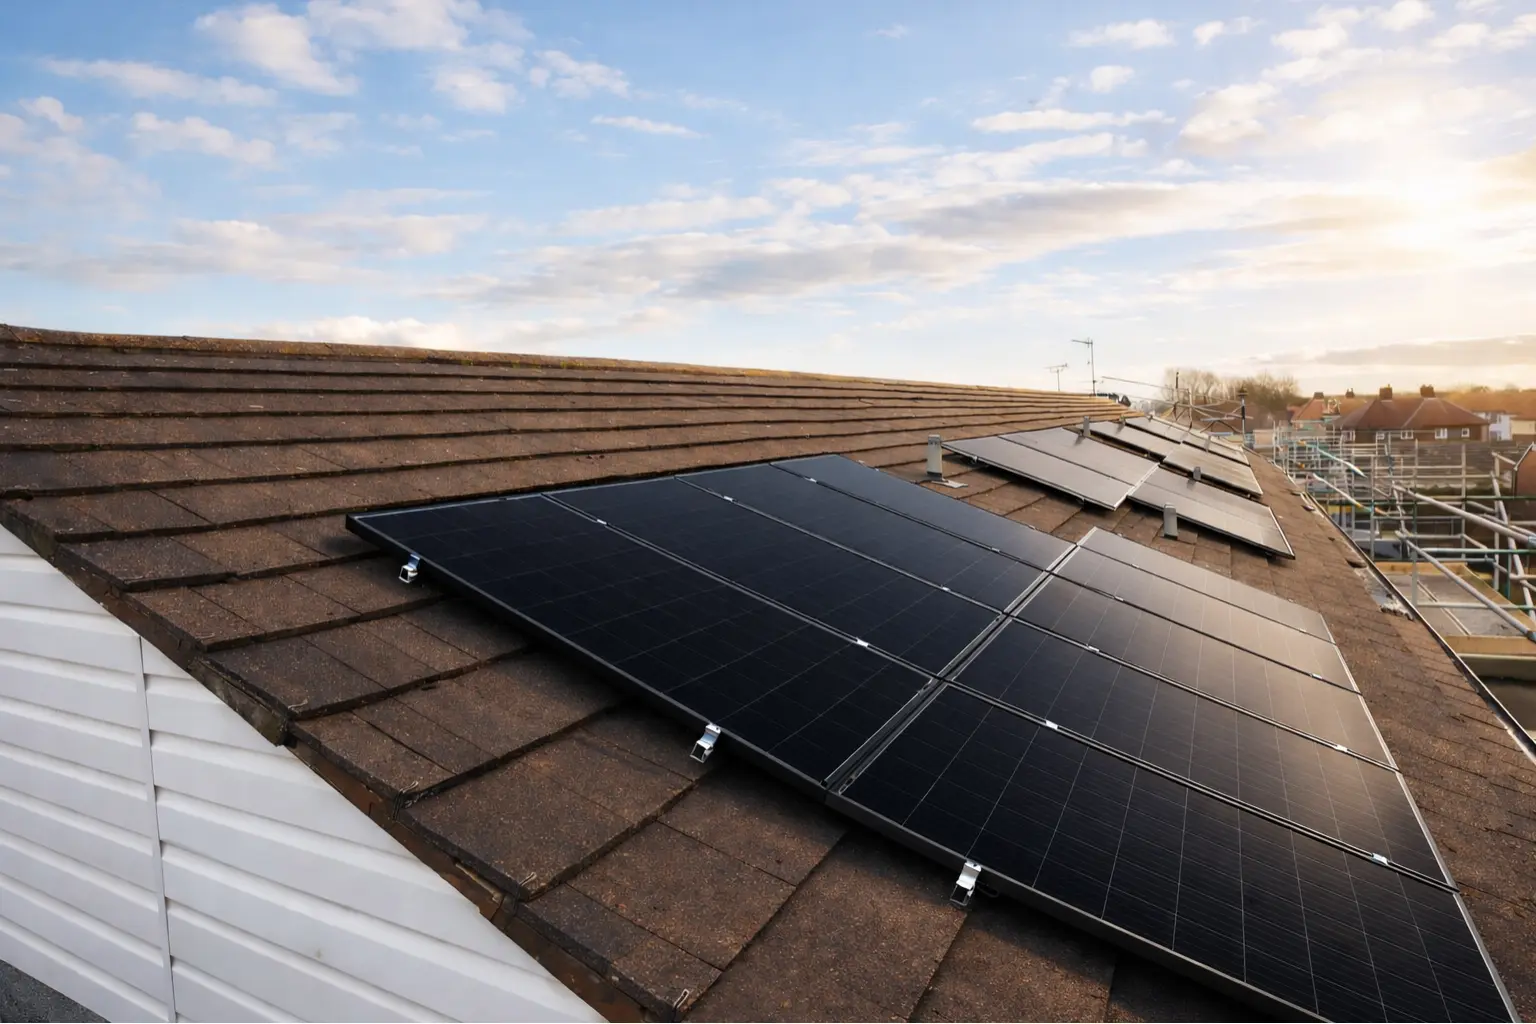
Step 6: Installation Day: Scaffolding, Panels and Inverter
On installation day, the real work begins. Scaffolding may go up first, then brackets are fixed, panels are mounted and the inverter is connected. If included, your battery or PV diverter is also installed. The power may be turned off briefly, and most installations take around one to two days.

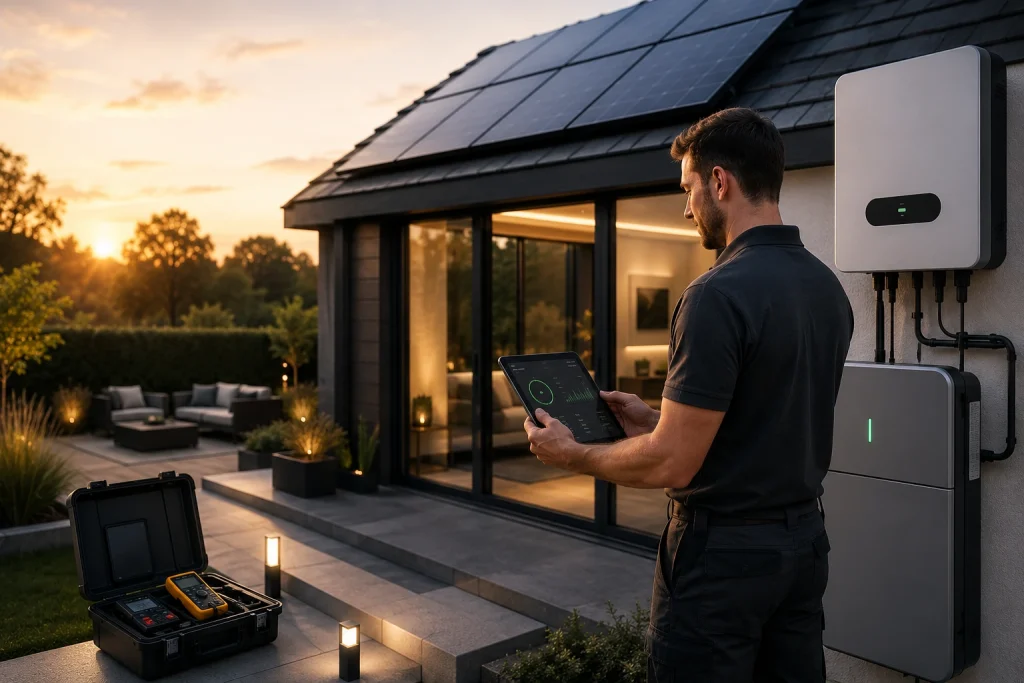
Step 7: Testing, Handover and DNO Registration
Once fitted, the installer tests the system, sets up monitoring and shows you how to track generation. You should receive safety documents, warranties and an MCS certificate where applicable. The installer should also notify or register the system with the DNO.
Step 8: Register for an Export Tariff
After installation, you may be able to earn money by exporting unused solar electricity back to the grid through the Smart Export Guarantee. You will usually need a smart meter and certified installation paperwork. Compare export tariffs carefully, as rates and terms can vary between energy suppliers.
How Long Does Solar Panel Installation Take?
For many homes, the physical solar panel installation takes around one to two days. However, the full process can take longer because it includes the survey, design, quote approval, scaffolding, paperwork and export tariff setup.
| Stage | What Happens | Typical Time |
|---|---|---|
| 1. Initial quote | Your roof, energy use and system options are reviewed. | A few days |
| 2. Survey and design | Roof measurements, shading, layout and equipment are checked. | 1–2 weeks |
| 3. Approval and booking | You confirm the quote and installation date. | Varies |
| 4. Scaffolding | Safe roof access is arranged before fitting. | 1 day |
| 5. Installation | Panels, inverter and wiring are fitted and tested. | 1–2 days |
| 6. Paperwork and tariff setup | Certificates, DNO registration and export tariff steps are completed. | A few days to a few weeks |
Larger roofs, battery systems, difficult access or extra electrical work may increase the timeline.
Things to Consider Before Solar Panel Installation
Before booking your installation, look beyond the panel price. Check your roof condition, shading, system size, inverter choice, battery options, warranties, installer certification, scaffolding costs and aftercare. A good solar system is not just fitted well — it is designed around your home, your usage and your long-term savings.
Common Myths About Solar Panel Installation
Myth 1: Solar panels only work in strong sunshine.
They also generate electricity from daylight, so they can still work on cloudy UK days.
Myth 2: Every roof needs to face south.
South is ideal, but east and west-facing roofs can still perform well.
Myth 3: The cheapest quote is always best.
A poor design, weak warranty or uncertified installer can cost more later.
Myth 4: Installation takes weeks.
The full process takes time, but the physical fitting often takes just one to two days.
Frequently asked questions (FAQs)
Simple answers to common questions about solar panel installation, planning permission, MCS installers, batteries, quotes, DNO registration and what happens after your system is installed. Speak to Simple Green Energy.
Need help with solar installation?
Speak with Simple Green Energy about solar panels, battery storage, roof suitability, MCS installation, DNO paperwork and export tariff guidance.
Check solar optionsFinal Thoughts: What to Check Before You Install Solar Panels
Before you install solar panels, make sure the system is right for your home, not just your budget. Check roof suitability, compare two or three detailed quotes, choose an MCS-certified installer and understand the warranties, aftercare, DNO registration and export tariff options. Also consider whether a battery would help you use more of your own solar electricity.