
Solar Panel Installation Process in the UK
Installing solar panels involves more than attaching equipment to a roof. A professional UK solar installation includes an initial assessment, technical survey, system design, planning and electricity-network checks, scaffolding, installation, commissioning and handover.
For a straightforward home, the physical installation normally takes one or two days. The complete project may take several weeks while surveys, equipment, scaffolding and Distribution Network Operator approval are coordinated. This guide explains each stage, likely costs and the checks that help homeowners avoid poor installations.
Get Your Solar Panel Quote
Start with your address so we can check the best solar options for your home.
Quick Answer
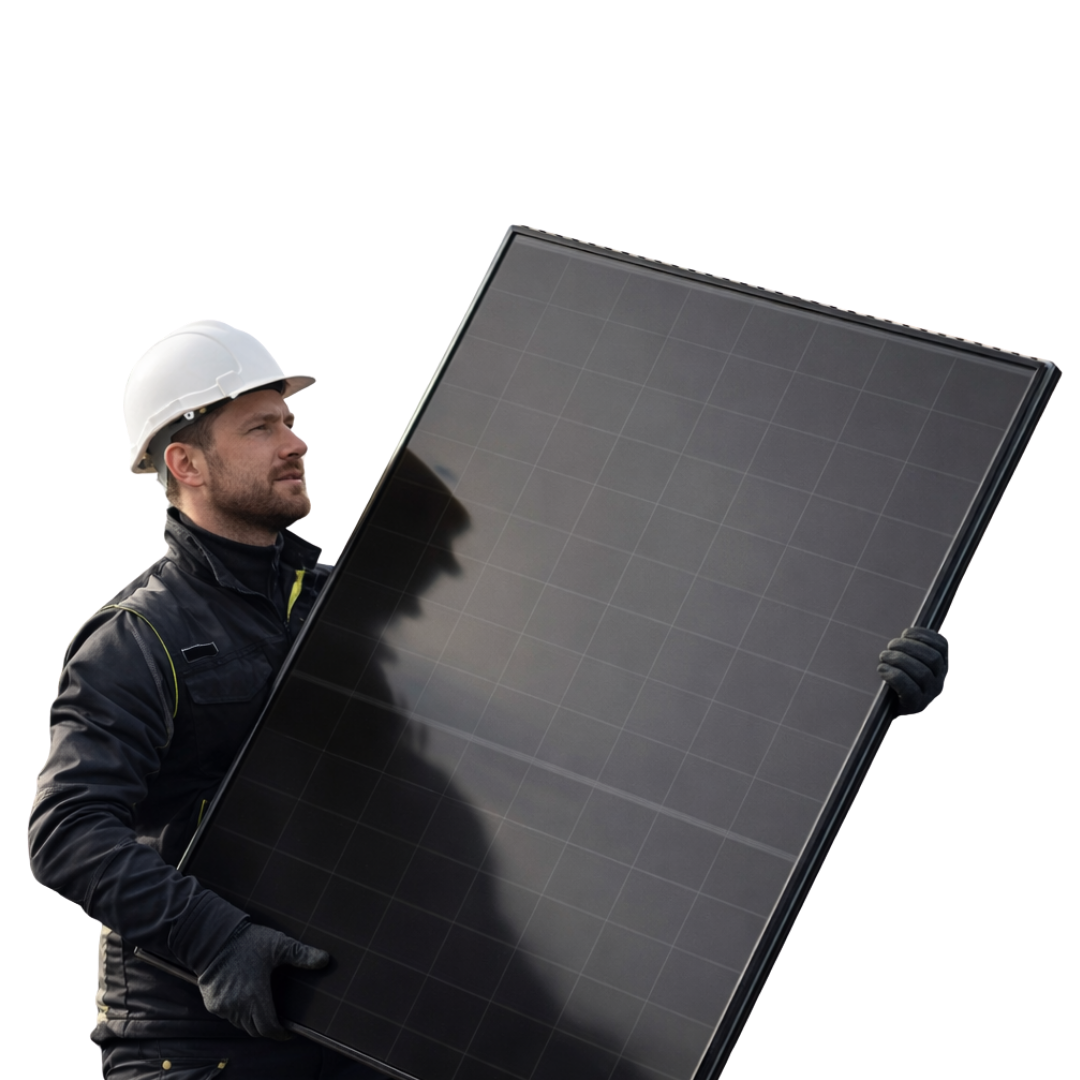
The solar panel installation process in the UK normally has eight stages: consultation, site survey, system design, planning and DNO checks, scaffolding, roof and electrical installation, commissioning and handover.
Panels are secured to a roof-mounted rail system, connected to an inverter and linked to the property’s electrical supply. The installer should also manage electrical certification, network registration and the paperwork needed for warranties and Smart Export Guarantee applications.
Installation commonly takes one or two days, although planning restrictions, roof repairs or pre-installation DNO approval can extend the overall programme.
Table of Contents
ToggleSolar installation process at a glance
| Stage | What happens | Usually responsible |
|---|---|---|
| Assessment | Energy use, roof and objectives reviewed | Installer and homeowner |
| Survey | Structure, electrics and cable routes checked | Technical surveyor |
| Design | Panels, inverter and battery specified | System designer |
| Permissions | Planning and grid requirements confirmed | Installer |
| Installation | Scaffolding, mounting and wiring completed | Installation team |
| Handover | Testing, documents and monitoring provided | Installer |
1. Initial solar assessment
The installer should first establish whether solar panels suit the property and the household’s electricity-use pattern.
The assessment should consider:
- Roof direction, pitch, area and shading
- Roof age and condition
- Annual electricity consumption
- Daytime and evening electricity use
- Plans for an EV charger or heat pump
- Battery storage and backup requirements
- Budget and expected length of ownership
Solar panels generate electricity in cloudy weather, but annual output varies according to roof orientation, shade, location and system design. South-facing, unshaded roofs normally provide the highest total generation, although east- and west-facing arrays can still perform effectively and may suit morning or evening energy use.
Avoid installers who promise an exact bill reduction before reviewing the property and its electricity consumption.
2. Technical site survey
Satellite imagery can support an initial estimate, but it should not replace a detailed technical survey.
The surveyor should inspect the roof covering and accessible roof structure. They should then assess the electricity meter, consumer unit, earthing arrangements and proposed cable routes.
Important checks include:
- Broken, loose or ageing tiles
- Signs of water ingress
- Structural concerns
- Safe installation access
- Suitable fixing positions
- Consumer-unit capacity
- Possible electrical upgrades
- Inverter and battery locations
- Internet connectivity for monitoring
The inverter and battery should be installed somewhere accessible, adequately ventilated and suitable for the manufacturer’s operating requirements.
Roof repairs are normally best completed before the solar panels are fitted. Removing an existing array to repair the roof can create additional labour and scaffolding costs. Energy Saving Trust recommends having the roof assessed before the final system is designed.
3. Solar system design and quotation
The system design should show the proposed panel layout, equipment locations, expected generation and connection method.
A clear quotation should identify:
- Solar panel manufacturer and model
- Number of panels
- Total capacity in kilowatt peak, or kWp
- Inverter manufacturer, model and AC output
- Battery capacity and usable storage
- Estimated annual generation
- Shading and system-loss assumptions
- Cable and equipment locations
- Scaffolding and electrical work
- Product and workmanship warranties
- Total price and payment schedule
- Expected installation timetable
Ask the installer which electricity price, export rate and household self-consumption assumptions have been used to calculate savings.
Do not compare quotations by panel count alone. Panels have different output ratings, and a large array can still underperform if it is shaded, badly positioned or paired with an unsuitable inverter.
4. Planning permission and DNO checks
Most conventional domestic rooftop installations are normally covered by permitted development rights. However, restrictions can apply to listed buildings, conservation areas, national parks, flats and unusual mounting arrangements.
Planning rules and building-control requirements differ across England, Scotland, Wales and Northern Ireland. The installer should confirm the rules that apply to the property rather than assume permission is unnecessary.
Solar panels and battery systems must also follow the appropriate electricity-network connection process.
| Route | General requirement | DNO timing |
|---|---|---|
| G98 | Type-tested generation up to 16A per phase, equivalent to 3.68kW on a single-phase supply | Normally notified after commissioning |
| G99 | Systems above the G98 limit or outside its conditions | Approval normally required before installation |
| G100 | Export is limited to an agreed maximum | Agreed during the connection process |
For a qualifying G98 installation, the installer can normally connect the system and notify the DNO within 28 days. G99 applications, or G100 applications where export is limited, generally need to be submitted before installation.
Panel capacity and inverter output are not the same measurement. More than 3.68kWp of panels may be paired with a 3.68kW inverter, but the complete installation—including batteries and existing generation—must be assessed.
The quotation should state who manages the DNO process and whether export limiting, network reinforcement or other requirements could affect the cost or timetable.
5. Scaffolding and installation preparation
Pitched-roof installations normally require scaffolding for safe access and edge protection. Scaffolding may be erected several days before the installation and removed after the work has been completed.
Before work begins, confirm:
- Parking and property access
- Access to the loft, meter and consumer unit
- The inverter and battery positions
- Internal and external cable routes
- Any planned electricity interruption
- How unexpected roof defects will be handled
- Whether scaffolding is included in the price
Any equipment substitution should be explained and agreed in writing, particularly where it affects generation, appearance, warranty coverage or price.
6. Roof and electrical installation
On a typical tiled roof, installers carefully lift selected tiles and secure roof hooks to structural fixing points. Aluminium rails are fitted to the hooks, aligned and checked before the solar panels are clamped into place.
The mounting system should support the array without relying on the roof tiles themselves.
Solar cables run from the panels to the inverter. The inverter converts the direct current produced by the panels into alternating current that can be used by household appliances. A qualified electrician installs suitable isolators and connects the system through a compliant electrical circuit.
Depending on the design, the installation may also include:
- Battery storage
- Power optimisers or microinverters
- Generation and export monitoring
- An immersion-heater diverter
- Backup circuits
- Smart EV-charging integration
Cable routes should be secure, tidy and protected from weather, heat, sharp edges and accidental damage.
7. Testing, commissioning and handover
The installation is not complete when the final panel is fitted. The electrician must inspect, test and commission the complete system.
Checks should cover:
- Electrical polarity
- Insulation resistance
- Earthing
- Protection devices
- Inverter settings
- Isolation and shutdown procedures
- Monitoring and communications
The installer should demonstrate that the system is generating and explain how to use the monitoring platform.
Your handover pack should include:
- Final system design and panel layout
- Electrical installation certificate
- Commissioning and test records
- MCS certificate, where applicable
- DNO notification or approval
- Building Regulations documents where required
- Product and workmanship warranties
- Equipment manuals
- Shutdown instructions
- Monitoring login details
- Final invoice
Keep these documents for export applications, warranty claims, mortgage enquiries and future property sales. GOV.UK guidance states that the property owner should ensure the DNO has received the correct notification or granted any required pre-installation approval.
Choosing the right solar system
The best solar system is designed around the property and household rather than offering the largest headline capacity.
| Buyer | Suitable starting point | Why |
|---|---|---|
| Budget-focused homeowner | Correctly sized panel-only system | Lower upfront cost |
| Family using power in the evening | Solar and battery assessment | Stores daytime surplus |
| EV owner | Larger array with smart charging | Increases useful self-consumption |
| Landlord | Simple system with clear monitoring | Easier tenant handover |
| Home renovator | Coordinate solar with roof work | Avoids repeat scaffolding |
| Shaded property | Detailed shading assessment | Reduces avoidable generation losses |
Compare expected generation, inverter sizing, monitoring, warranty terms, aftercare, spare-parts availability and compatibility with future batteries or EV charging.
Is solar worth installing?
Solar may be worthwhile where the roof is suitable, the installation is sensibly priced and the household can use or export enough electricity. Savings depend on generation, electricity prices, daytime consumption and export payments.
Can a battery be added later?
Usually, yes. However, choosing a compatible inverter, suitable equipment location and appropriate cable route during the original installation can reduce future costs.
Do solar panels work in winter?
Yes. Solar panels generate from daylight rather than heat, but winter production is lower because daylight hours are shorter and solar radiation is weaker.
Will solar work during a power cut?
A standard grid-connected installation normally shuts down during a power cut for network safety. Backup operation requires compatible battery equipment, changeover controls and designated backup circuits.
Solar panel installation costs and timescales
Energy Saving Trust’s current main consumer guide estimates that a typical 4.5kWp domestic solar system costs around £7,600. The final price depends on system size, roof access, equipment choice, electrical work and whether battery storage is included.
| Cost factor | Why it changes the price |
|---|---|
| System size | More panels, rails and electrical equipment |
| Roof complexity | Additional labour and specialist access |
| Electrical condition | Consumer-unit or earthing upgrades |
| Battery storage | Additional equipment and installation work |
| DNO requirements | Export limitation or network work |
| Scaffolding | Varies with height, shape and access |
Savings and payback depend on annual generation, the proportion used in the home, electricity prices, export payments and maintenance costs.
The Smart Export Guarantee is available for eligible solar installations in Great Britain. Electricity suppliers set their own export tariffs and contract requirements, so homeowners should compare offers rather than assume every supplier pays the same rate.
Physical installation commonly takes one or two days. The complete process may take several weeks where G99 approval, planning permission, roof repairs or specialist scaffolding are required. A technical survey is necessary for an accurate quotation and project programme.
Why the installer matters
Installation quality affects electrical safety, roof integrity, energy generation, reliability and warranty support.
Choose an installer that provides:
- A survey-led design
- Itemised pricing
- Realistic generation calculations
- Clear planning and DNO responsibilities
- Named equipment
- Written warranties
- Commissioning documents
- Accessible aftercare
MCS certification provides recognised technical and process standards for renewable-energy installers and installations. An MCS-certified installation may also be required by an electricity supplier before it will accept a Smart Export Guarantee application.
Consumer-code membership offers another trust signal. The Renewable Energy Consumer Code covers marketing, quotations, deposits, contracts, guarantees and after-sales service. RECC members are also required to protect qualifying deposits and workmanship warranties against the risk of the installer ceasing to trade.
Be cautious about pressure selling, unrealistic savings claims, unexplained equipment changes, large unprotected deposits and promises that do not appear in the written contract.
Frequently asked questions (FAQs)
Clear answers about solar installation times, planning permission, scaffolding, access, roof orientation, flat roofs, inverters and adding battery storage later. Speak to Simple Green Energy .
Planning a solar installation?
Speak with Simple Green Energy about your roof, access requirements, equipment locations, installation schedule and options for adding battery storage now or in the future.
Discuss my installationFinal solar installation checklist
Before accepting a quotation, confirm that:
- The design follows a technical survey.
- The generation estimate includes shading and orientation.
- Every major component is named.
- Scaffolding and electrical upgrades are priced.
- Planning and DNO responsibilities are clear.
- Warranty providers and durations are stated.
- Monitoring and handover training are included.
- Deposit and workmanship protection are explained.
- Final documents will support an export application.
- The installer offers a clear aftercare process.
Conclusion
A successful UK solar installation moves from assessment and survey to design, permissions, installation, testing and complete handover.
The roof work may take only one or two days, but careful preparation determines whether the system is safe, reliable and suitable for the household.
The strongest quotation is not necessarily the cheapest or largest. It is the one with realistic performance estimates, appropriate equipment, clearly defined responsibilities and dependable aftercare.
Book a free home survey with Simple Green Energy for a property-specific solar design, installation plan and quotation.